How to Manage the Group of Asset/Collection Properties
One of the ways to handle the properties of assets or collections is to organise them in groups.

Attention: one property can only be part of a single group. If a property does not belong to any group, it will be displayed under No group in the user interface.
How to create a group of properties
- In the admin panel go to the Content section and find the Prop groups subsection there. Click on it or, alternatively, click on the link Change.

- You will see the list of all currently existing groups of properties in your Picvario workspace. Both asset and collection property groups are presented in the list, as they are created with the same procedure.
- Click on the ADD PROP GROUP button.

- The latter will open the dialog box for creating a new property group.

Fill in the fields of the property dialog box according to the following guidelines:
Author. This field is mandatory. Technically, author is the user who creates the group. If not specified, the name under which the user has logged in the system will be used for the field. The input text is editable.
Editor. The user who last edited the property group. Leave this field blank when you create a new group, as it will be populated automatically with the name of the creator of the group.
Modified. This field should be left blank when created, as it specifies the date and time when the group was last edited and will be filled automatically later.
Sort. Specify here the weighting of the group if needed. This will define the position of the group in the list of the other property groups. The less the weighting of the group is, the higher it is displayed in the list. Groups with identical weighting are displayed in alphabetical order.
Name. This is a mandatory field. The name of the property group will be displayed in the side panel.
Slug. The character code of the group. If you leave it blank when creating it, it will be populated automatically.
- Click the Save button to save the input values.
- To make the group seen in the user interface, add at least one property to the group. To do this, go to the property dialog box again and select the group you need in the Group field. For more information, see Creating, Editing, and Deleting Properties for Assets and Collections .
How to edit a group of properties
- Go to the CONTENT section of the admin panel and click on the Prop groups. Find the group you want to edit in the list that appears and click on it.
- Do the editing in the dialog box that opens.
- Click SAVE to save your changes.
How to delete a group of properties
- Go to the CONTENT section of the admin panel and click on the Prop groups.
- In the list, select the group(s) you want to delete, in the Action drop-down menu find Delete selected groups and click Go. Alternatively, open the dialog box of the group you want to delete and click the Delete button.

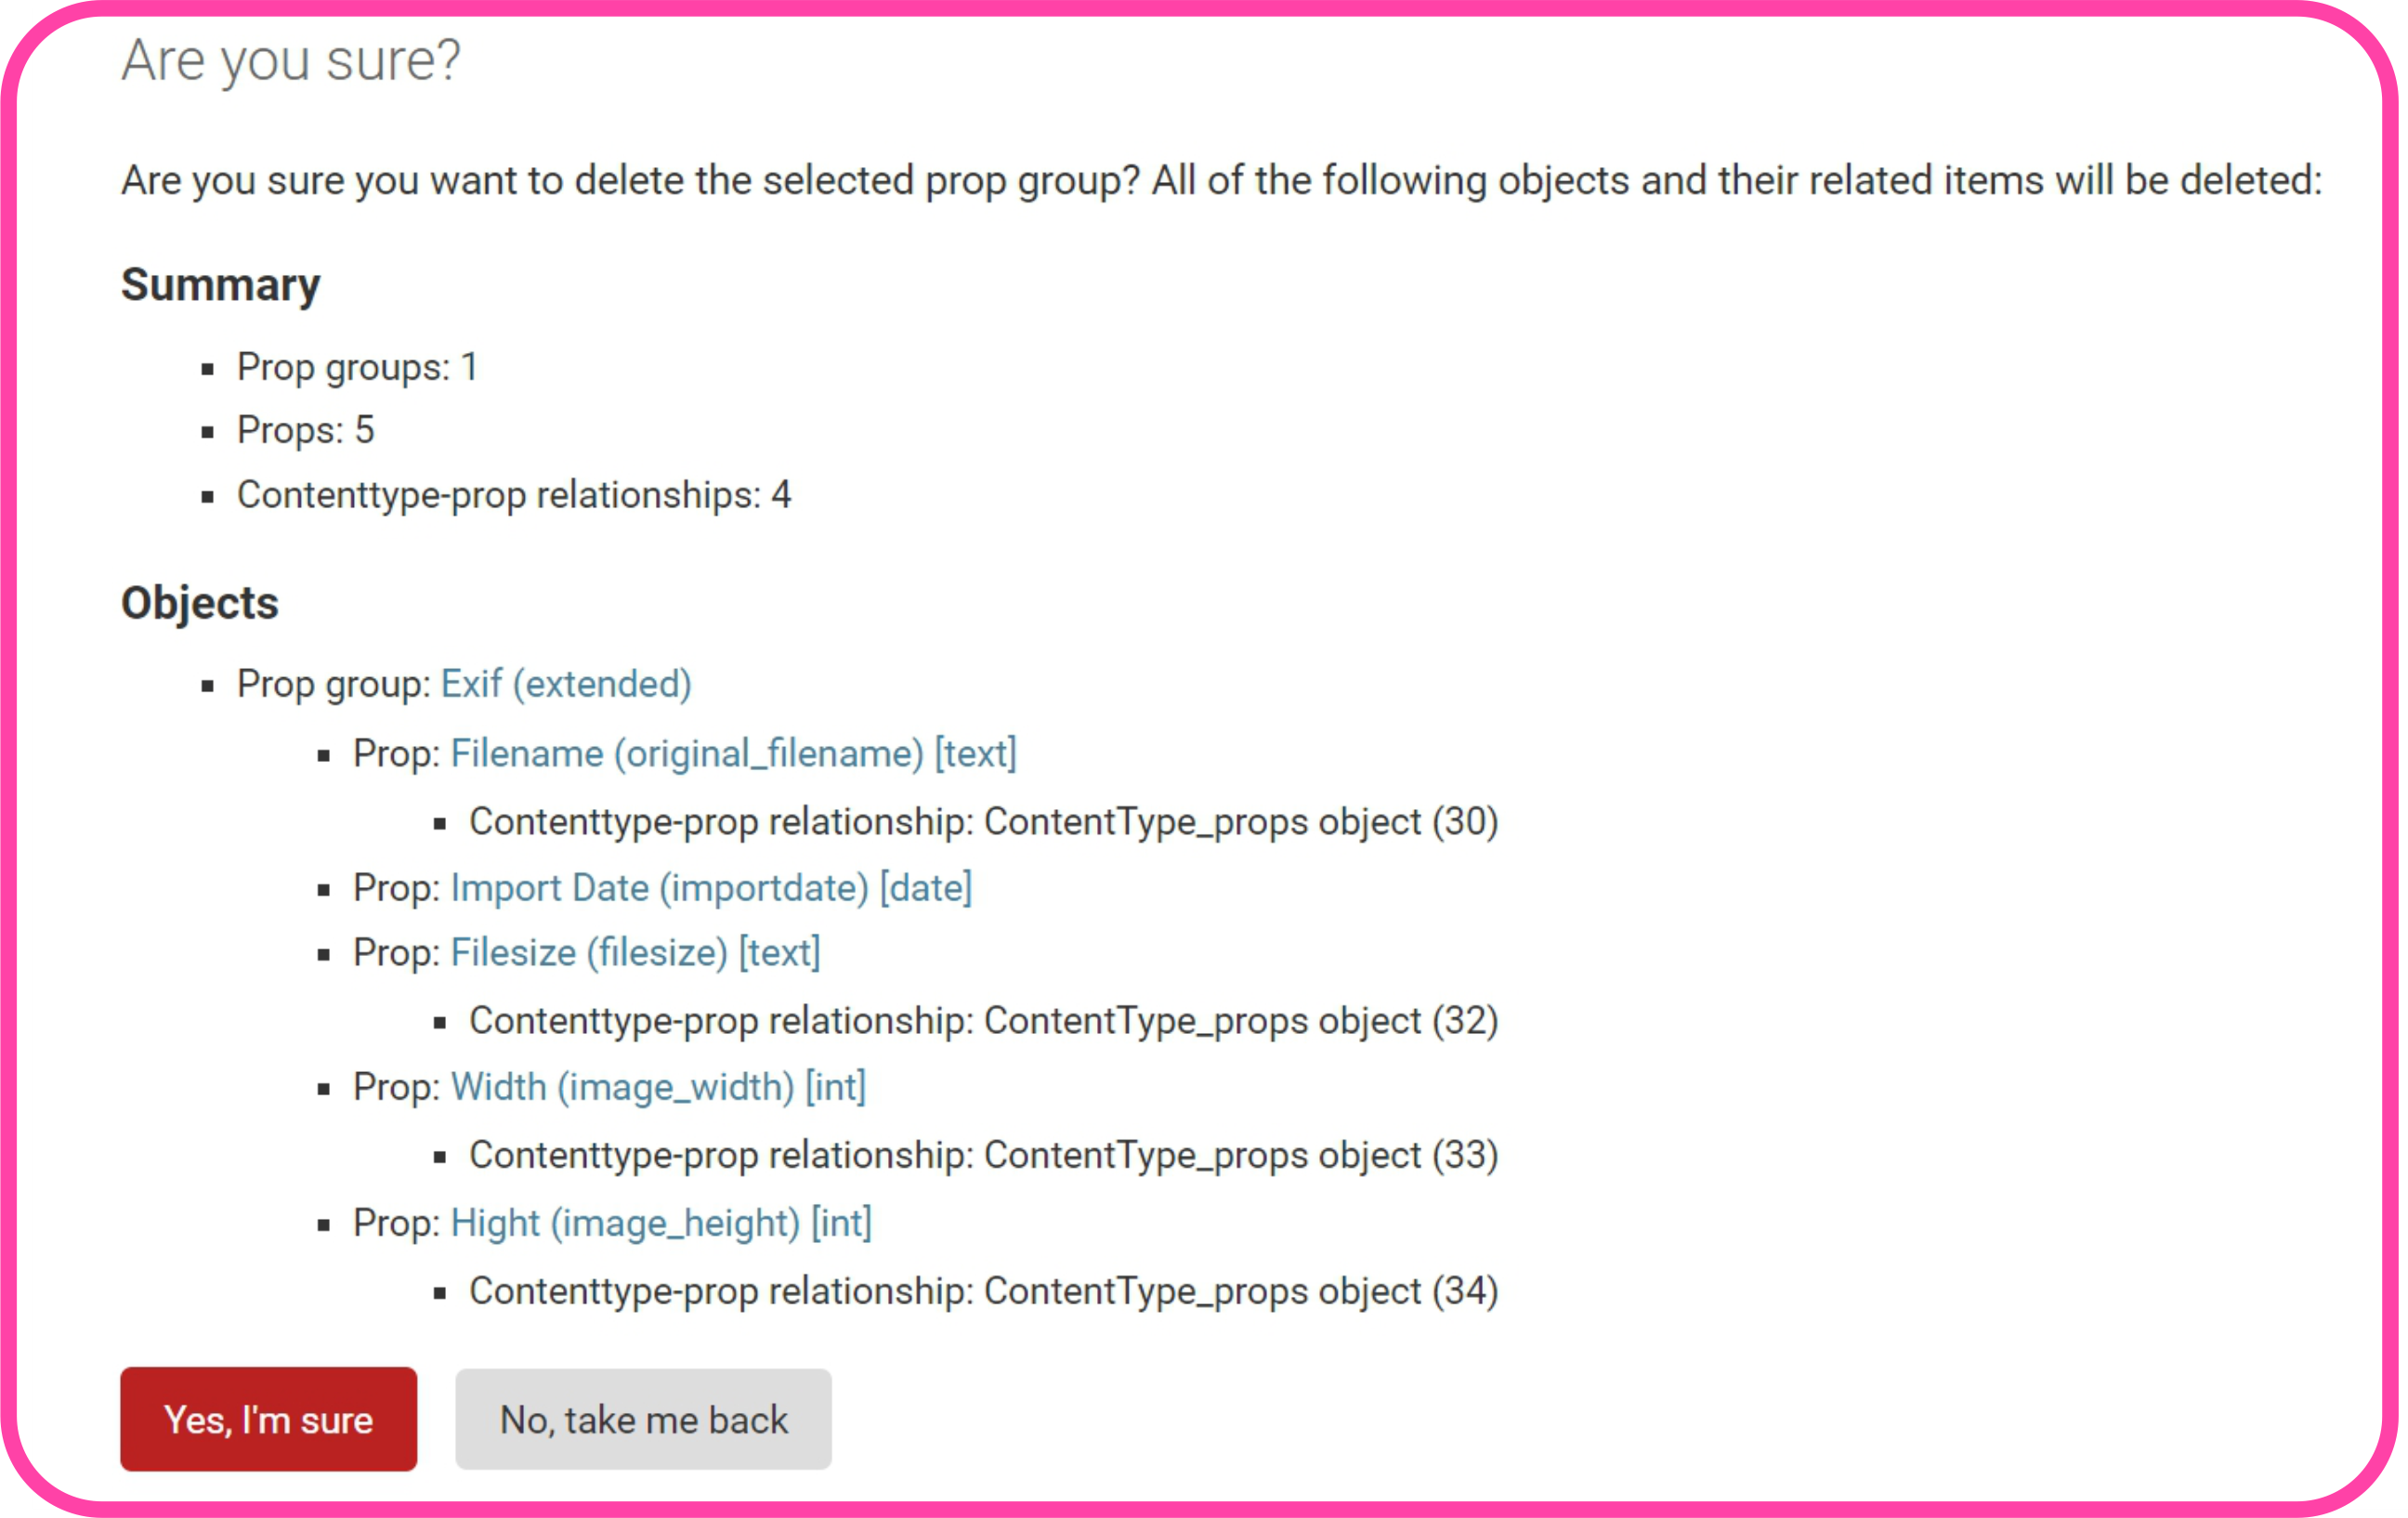
- Attention: when you delete a property group, all the objects associated with this group will also be deleted. To confirm the deletion, click on the Yes, I’m sure button.

Related Articles
Asset Properties
Asset properties are a set of metadata, information about a file. This information includes file's title, description, tags, creator's contact information, date created, copyright, usage rights, geolocation and others. They can be used for the ...Viewing and Editing Asset Properties
Viewing asset properties To view asset properties, select or highlight the asset in the list and go to the Properties section in the sidebar. Click on the name of the required property group to expand the detailed list of properties. Authorized users ...Editing Collection Properties
You can set and change the values of the editable properties. For such properties, when you hover your mouse pointer to the right of the name, an editing area with the icon appears. If the icon is not displayed, it means that the property is ...Collection Properties
Just like assets, collections have a set of properties. You can add a title, description, tags, and other information that will help you quickly find the necessary collections in the feed. To view properties of a collection, select it by clicking on ...How to Configure the Asset/Collection Filter Panel
The filter panel is one of the most important components of the system and the basis for searching assets and collections in Picvario. It can be configured in terms of the selection of asset / collection properties displayed in the filter. How to add ...