The appearance of Picvario can be customised according to your brand visual identity.
Currently, you can choose what the logo of your workspace will look like and what color scheme will be used for some elements of the interface.
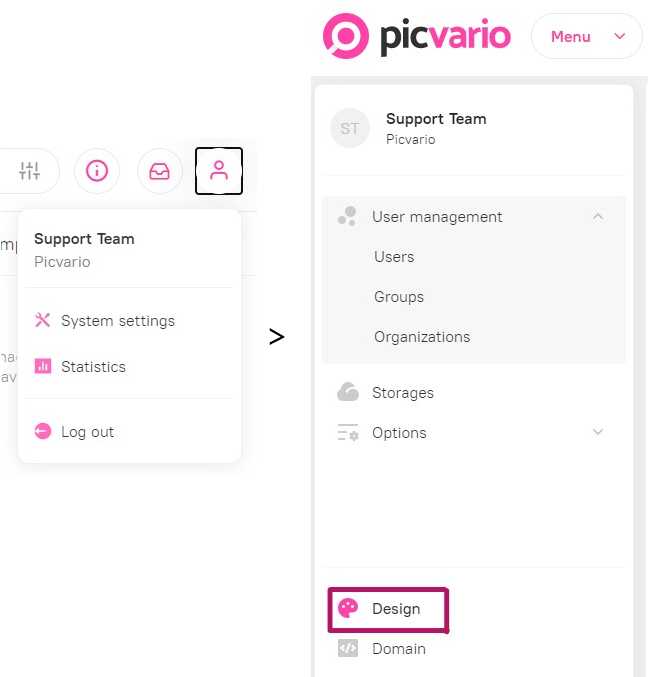
To set the appearance go to System Settings > Design.
System logos
You can upload images for these 3 types of logos:
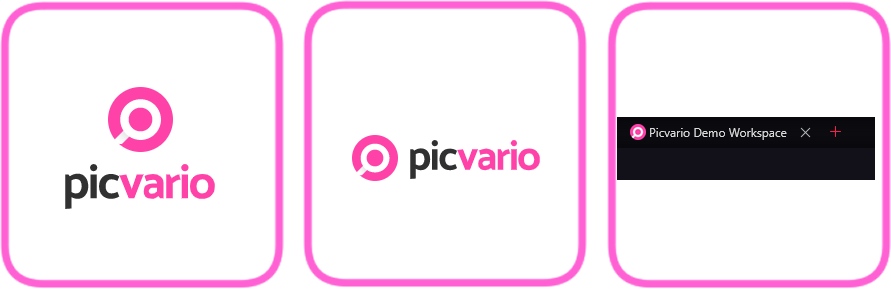
- Sign in logo for logging in to the system
- System logo
- Favicon, which is the thumbnail of the site, displayed on the left side before the title of the page
- If you haven’t uploaded a logo before, click Upload.
- If there is something already uploaded in the field, delete the previously uploaded logo by clicking next to the Delete field or click on the name of the previously uploaded image to replace it.
Attention: the size of files shouldn’t exceed 2MB.
Useful tips:
For the Sign in logo and Favicon use square images.
For the System logo use a horizontally-oriented rectangular image.
Watermark
By default, the system adds Picvario’s watermark. You can upload your picture up to 2 MB.
Please, read the article about using watermarks in Picvario.
Color schemes for the elements of the interface
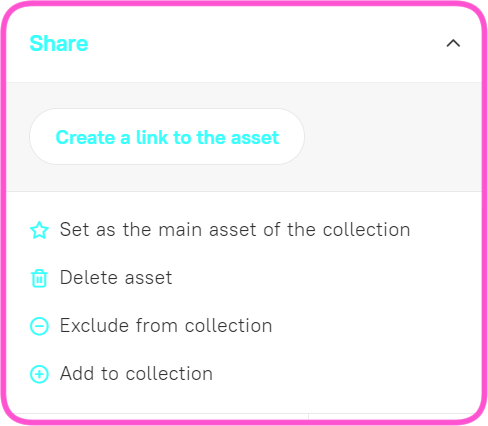
It is possible to select a color which will be applied to all the buttons and switches on the page of assets / collections as well as on the page of the system settings. Look at an example below showing how some elements will look like in an alternative color scheme:
Click on the bar with the current system color to change the color scheme. The color shown in the screenshot is the default color:
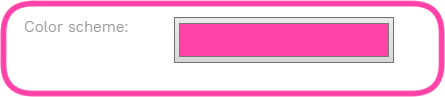
When you click on it, the color palette window will open; now you can choose a color to customize your interface

After configuring the logos and color scheme, click Save. If you refresh or close the page before saving the changes, they will not be saved.
Links to Picvario in messengers (meta-tags)
Links to your Picvario workspace can be customised. Click on this link Setting up links to the Picvario workspace for messengers and social media to find out how to do this.