In Picvario, you can check out files from the system, edit them on your device, for example, in Photoshop, and check them in back to the system into the original asset. In this case, the original file will be transferred to the supporting files.
The permission to extract and return files (Check-In/Check-Out) is set by a Picvario administrator.
Check-out
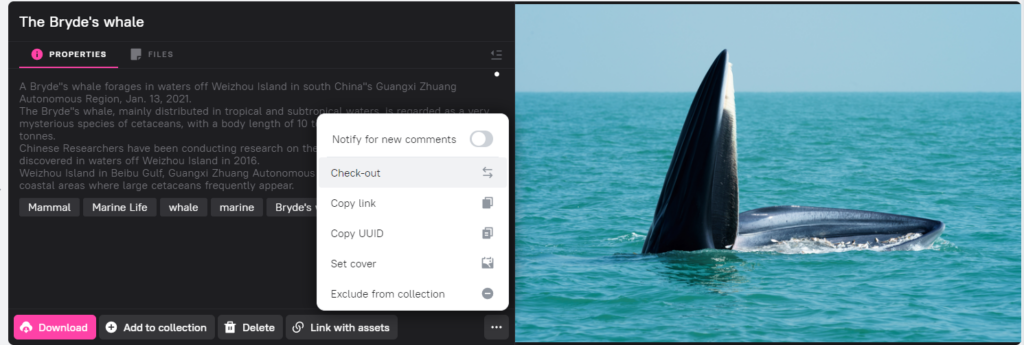
1. Select an asset and in preview mode, click ![]() . Click Check-out.
. Click Check-out.
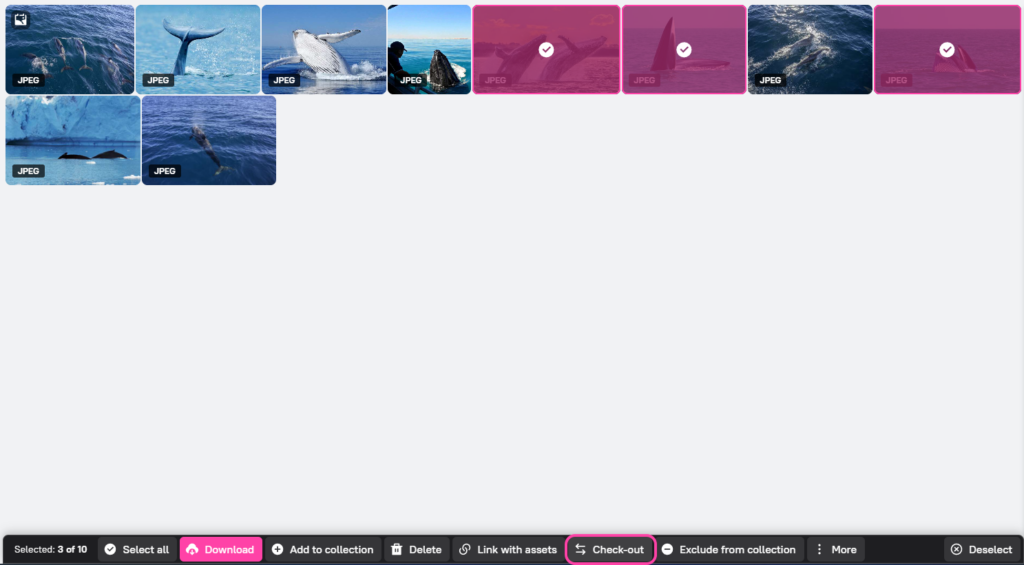
If you want to check out several files, select them and click Check-out in the bulk actions panel that appears at the bottom.
2. Click Check-out.
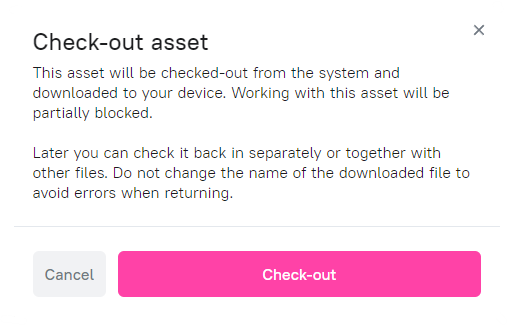
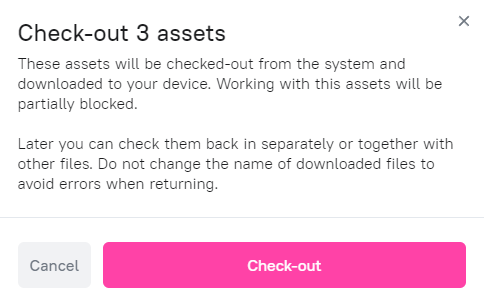
![]() After check-out, do not change the name of the downloaded file to avoid errors when returning.
After check-out, do not change the name of the downloaded file to avoid errors when returning.
 During check-out, the system generates an additional key in the file name in order to identify the original asset by the file name when returning.
The Check-out icon will appear on the thumbnail of the checked-out asset. Work with this asset will be partially blocked until it is checked in.
If an asset is extracted, its original file cannot be modified or archived, and another user will not be able to perform a check-out.
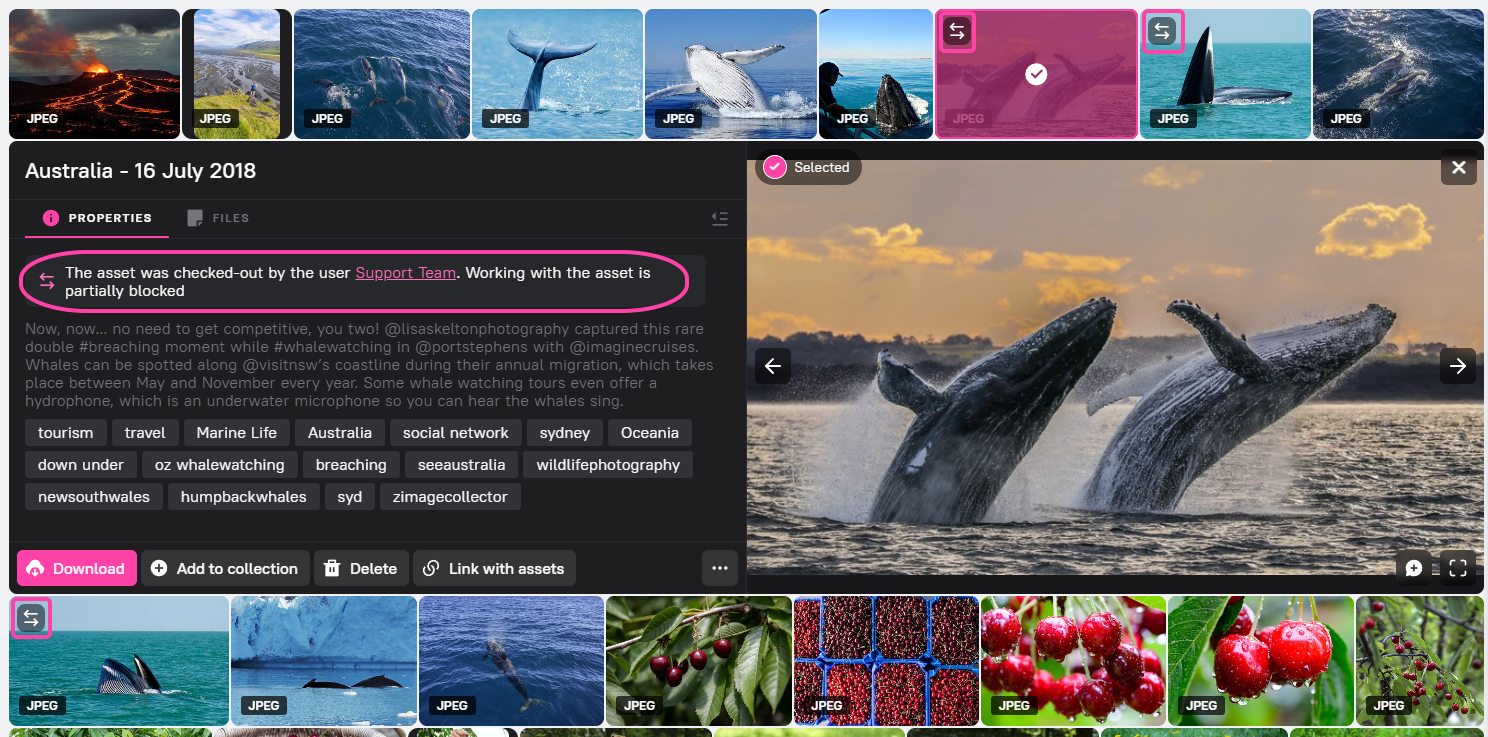
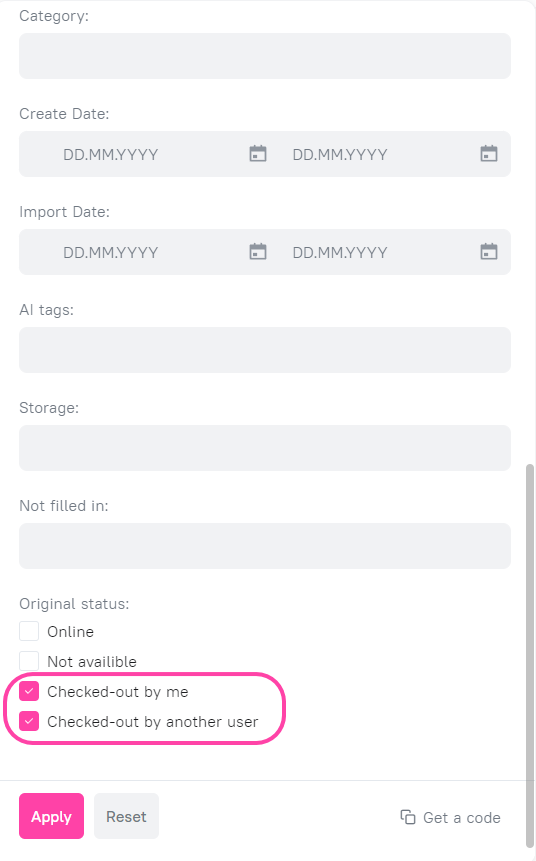
All checked-out assets can be found in the search filters.
- On your device, edit the file as you wish.
Check-In
To return the checked-out file to the system:
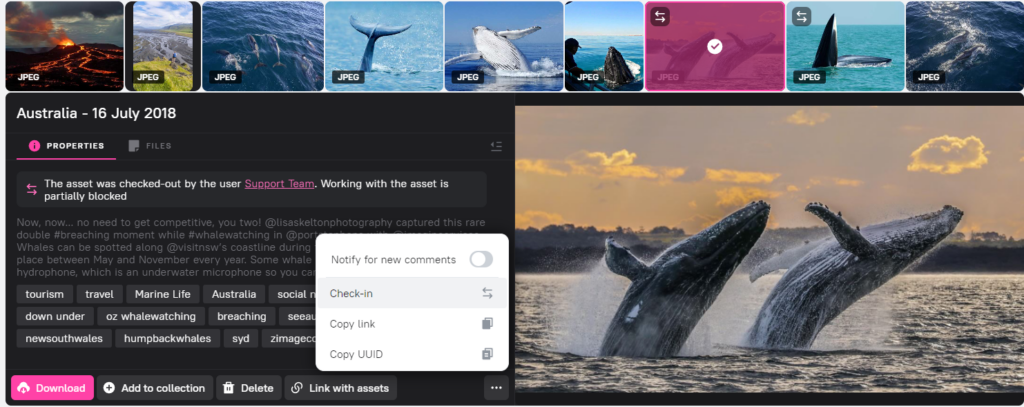
1. Select an asset and in preview mode, click ![]() . Click Check-In.
. Click Check-In.
2. Click Upload file.
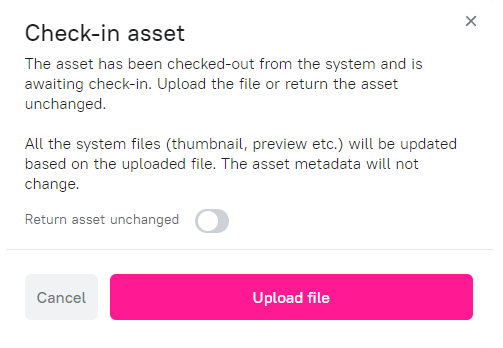
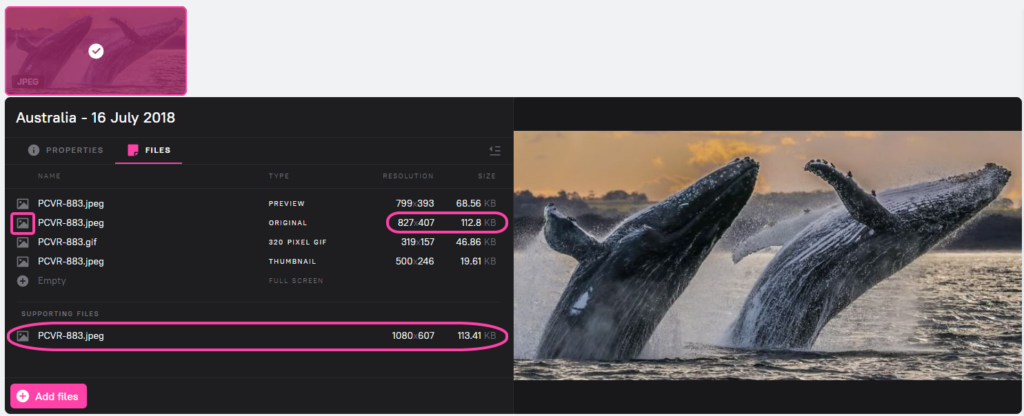
3. When the file is uploaded, a notification «Asset checked-in» will appear in the lower right corner of the screen. The Check-out icon on the thumbnail of the asset will disappear. The system will re-generate proxy versions, and the original file will be moved to supporting files.
To check in several previously checked-out files to the system, select the files on your device and drag-and-drop them, as a usual import.
The system will recognize the checked-out files and replace the originals and proxy versions in the checked-out assets.
The check-out icon on the thumbnail of the checked-out assets will disappear. You can continue working with the checked-in assets as usual.